PaperCut for Mac - Personal Devices
Table of Contents
About
These instructions will walk you through downloading and installing the PaperCut Client for Personal Mac Devices and connect to SecurePrint for submitting print jobs. This process may involve steps that are not familiar to you. Throughout the installation and configuration process, you may be prompted for either your SPU Username and Password (use your full email address) or your computer's local administrative account and password (the one you type to install programs or updates).
Overview
- Install Printer Drivers.
- Install PaperCut Client.
- Add the SecurePrint printer.
- Instructions for Printing.
Papercut Download Location
Located in-the Download Center: SPU Download Center You will need to sign in with your SPU Credentials to access the download.
Step by Step
System Requirements |
|---|
Evaluate your system Requirements:
|
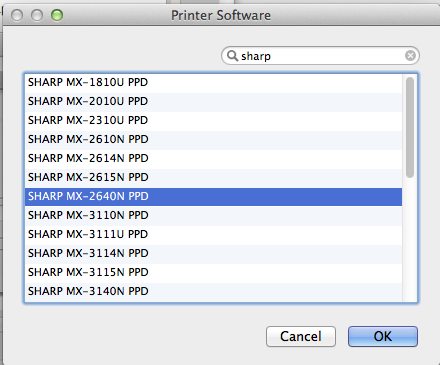
Install Printer Drivers |
|---|
| Inside the extracted PapercutMacClient folder you will find a file named MFP_drivers.dmg. Open it. Run the file MX-C52. It will prompt you through an installer. Will require Administrative approval while installing. |
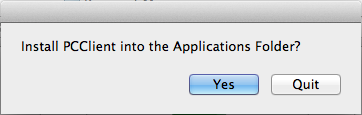
Install PaperCut Client |
|---|
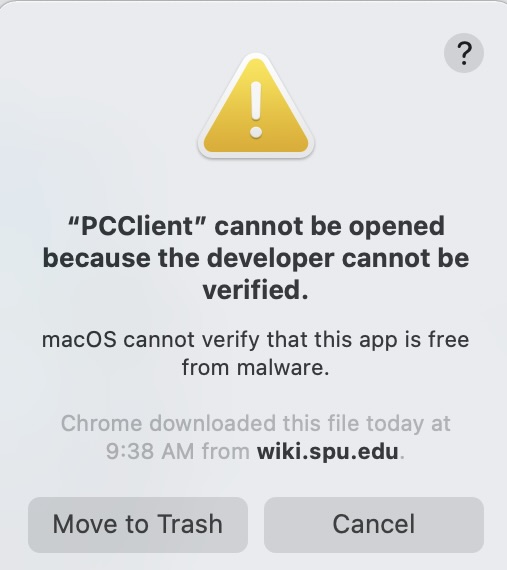
You may get the error "Install Papercut script can't be opened because it's from an unidentified developer".
Use the following instructions if you get this error.
Apple Documentation on Safely Opening Apps on your Mac
|

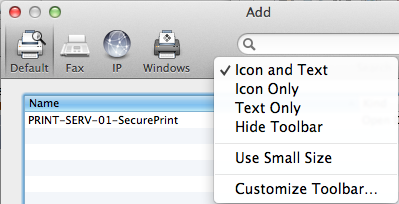
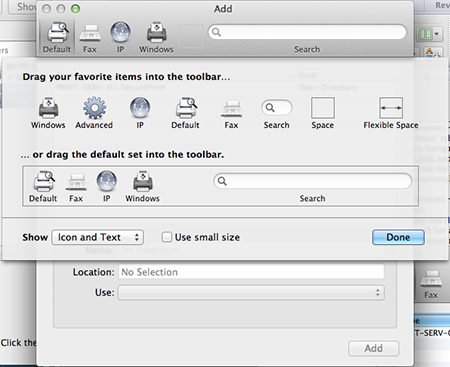
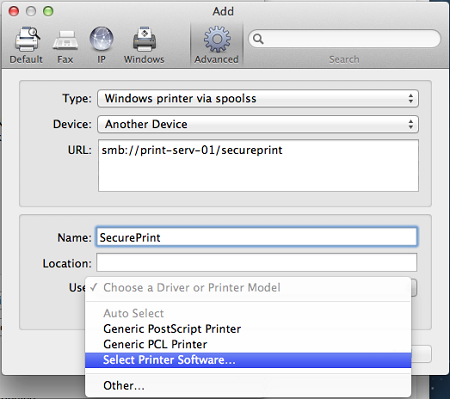
Install SecurePrint Printer |
|---|
|
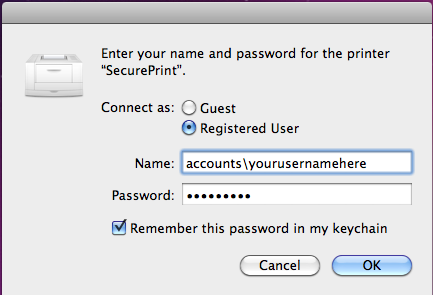
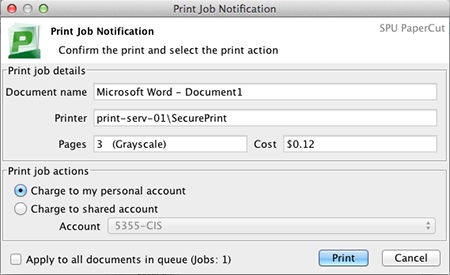
Instruction for Printing |
|---|
For more information on the SecurePrint printer, visit our SecurePrint Instructions page. |
Related articles