Windows Phone
Step-by-step guide
Windows Phone 8
- Tap the Windows Logo at the bottom of the phone. Flick left to the App List and select Settings.

- Tap email+accounts, and then add an account. Choose Exchange as the type of account.

- Enter your email address, including the "@spu.edu" portion at the end. Replace SPUUSERNAME with the username you use for Banner, Webmail, etc. Enter your password in the appropriate field.
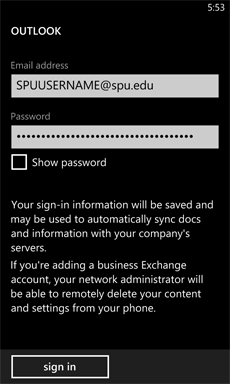
- Tapping Show Password will allow you to verify you are entering the correct password.
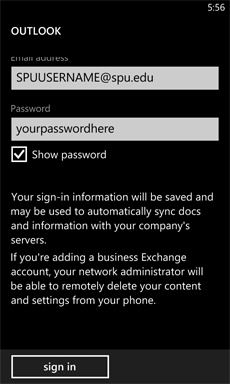
- Tap sign in. Your Windows Phone is now configured to sync your SPU email account.
Windows Phone 7 and 7.5
- Tap the Windows Logo at the bottom of the phone. Flick left to the App List and select Settings.
- Tap email+accounts, and then add an account. Choose Outlook as the type of account.
- Enter your email address, including the "@spu.edu" portion at the end. Replace SPUUSERNAME with the username you use for Banner, Webmail, etc.
- Enter your password in the appropriate field.
- If you're prompted for a server, enter outlook.office365.com
- Tap sign in. Your Windows Phone is now configured to sync your SPU email account.
Windows Phone 6.5 and Older (ActiveSync)
- Go to ActiveSync -> Menu -> Configure Server.
- Enter outlook.office365.com as the server address and check the box for SSL Connection.
- Type your full email address for the username.
- Enter your password in the appropriate field.
- Click OK to save these settings.
- Select the items you wish ActiveSync to synchronize, such as Contacts, Calendar, Email, and Tasks.
- Set an ActiveSync Schedule if you want your mobile device to automatically connect and synchronize your email account.
If ever prompted to log in, use your full email address and password.
Related articles