PaperCut for Windows
These instructions will walk you through downloading and installing the PaperCut client on a Windows machine and connect to SecurePrint to submit jobs. This process may involve steps that are not familiar to you. Do NOT use this install on an SPU-managed computer.
You must be connected to the SPU campus network for these steps to work.
Step-by-step guide
- Click the Download Now link on the SPU Download Center page. This will bring up a log in screen. Log in with your SPU Username and Password.
- Click Save or Save As when prompted. You will now need to decide where to save the installation file. We recommend your Desktop or Documents folder.
- Locate and double click the SPUPapercutWin.exe file.
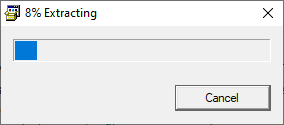
- You will see a progress window as the files are extracted.
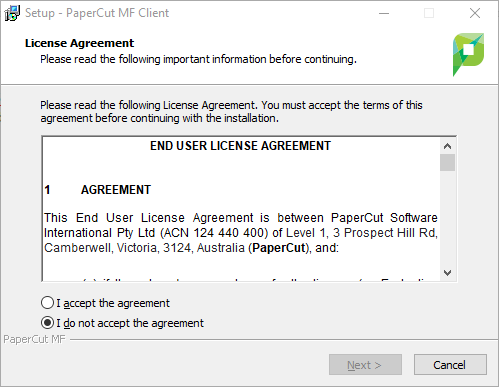
- Accept the License Agreement and click Next.
- Install the program in the default directory (you don't need to change anything). Click Next.

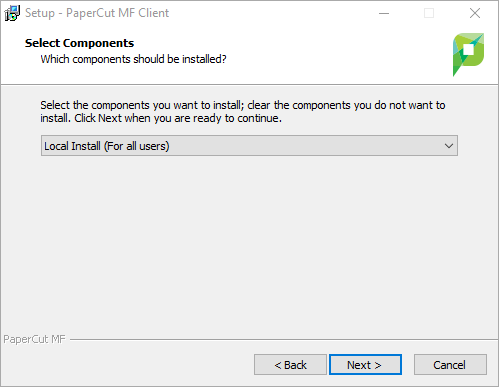
- Select Local Install (For all users) and click Next.
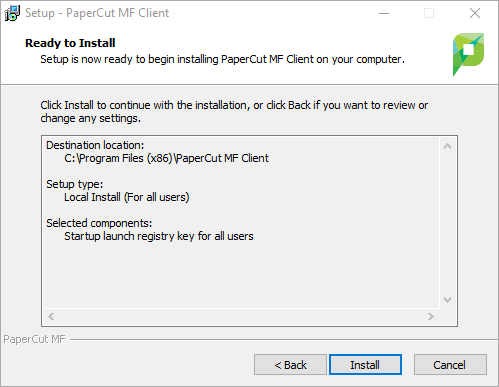
- Click Install to begin the installation process.
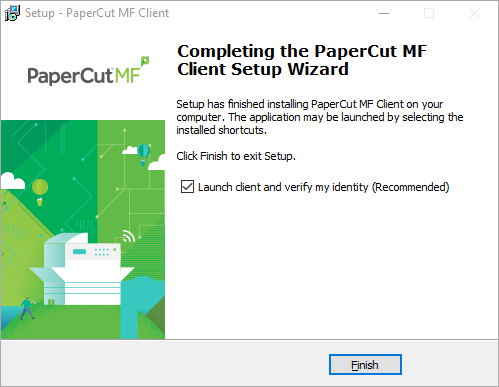
- Check the box next to Launch client and verify my identity (Recommended) and click Finish.
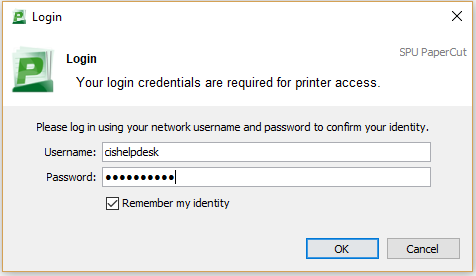
- In the Login window that opens, enter you SPU Username and Password. Check the box next to Remember my identity and click OK.
You now need to map to the SecurePrint printer to release print jobs. Follow the steps below to complete the process.
- In the search bar of the start menu, type: "\\printserv01\SecurePrint" without quotation marks and press enter.
If you do not have a search bar, open File Explorer (Windows 8) also known as Windows Explorer and type the path listed above in the address bar at the top of the window.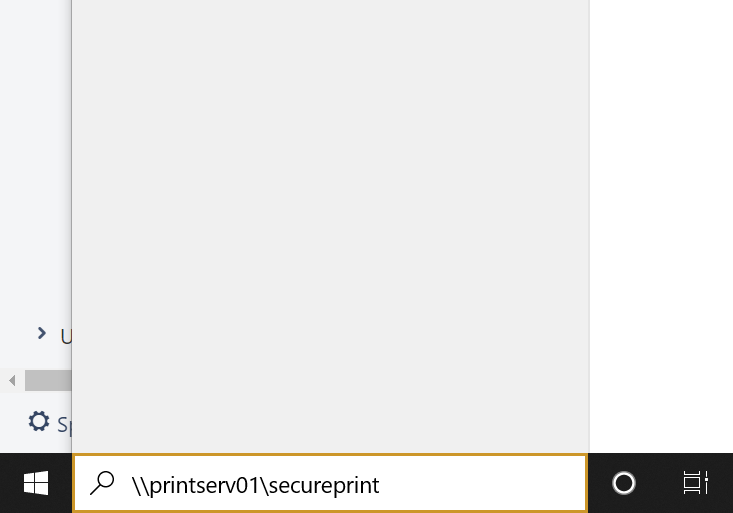
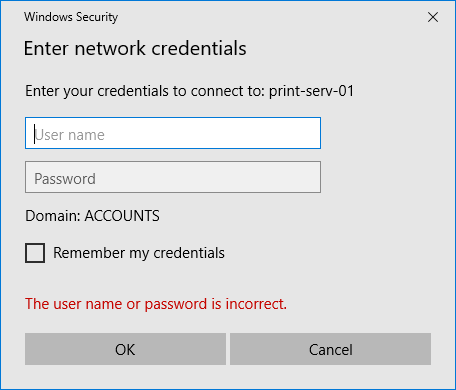
- When you are prompted for credentials, type: "ACCOUNTS\yourspuusername" and password without quotation marks. Select Remember my Credentials and click OK.
- Installation may take up to 5 minutes. You may see a "Looking for driver..." message and a prompt to trust the driver. Click Install Driver to continue.
- You should now be connected to SecurePrint! See our Secure Print Instructions to learn how to submit print jobs.
Related articles