Add images in RCE
Steps to embed image into RCE
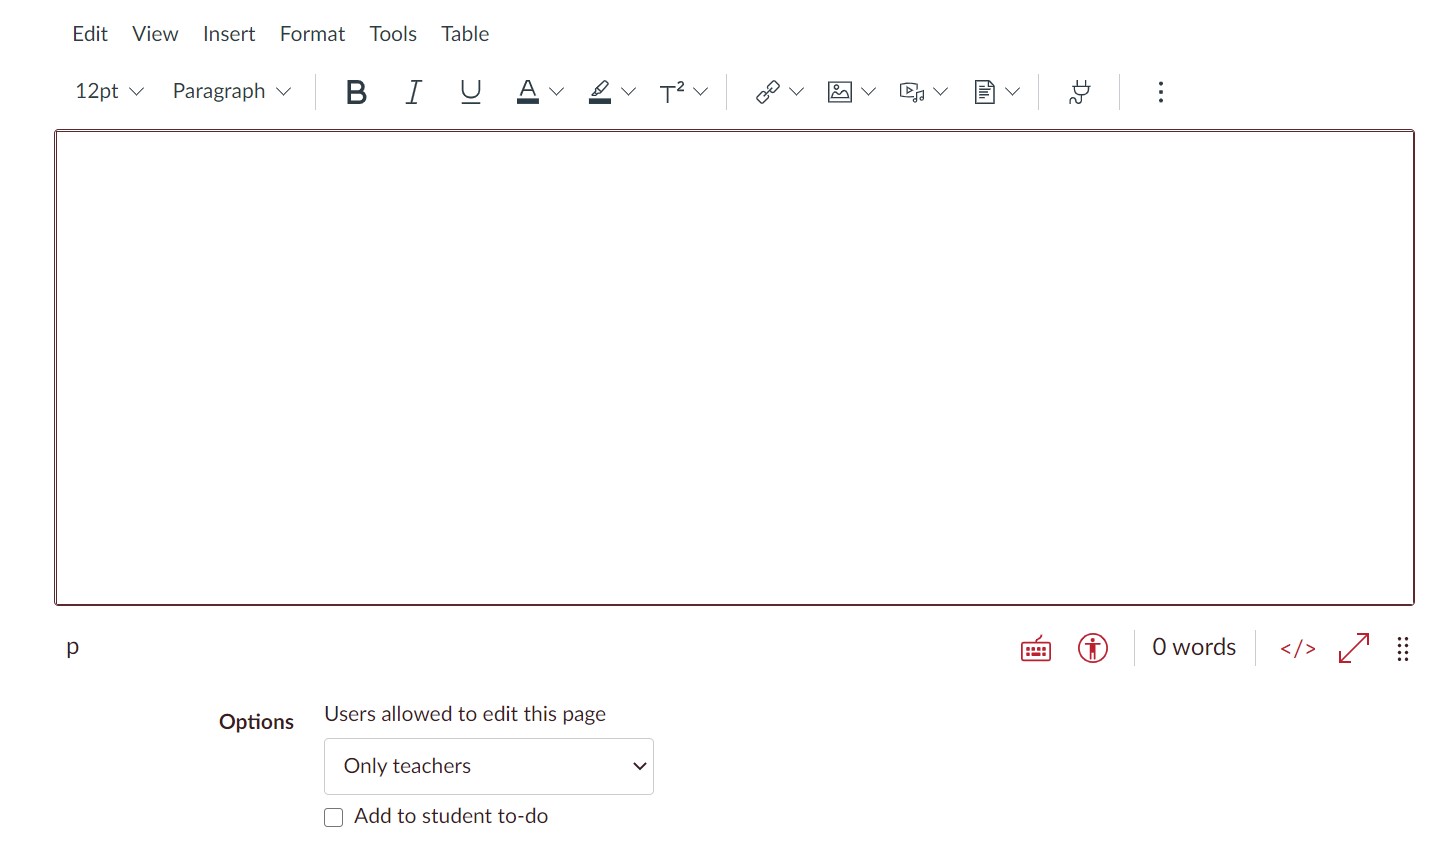
1.Open the Rich Content Editor
Open the New Rich Content Editor when creating or editing an announcement, assignment, discussion, page, quiz, or syllabus.
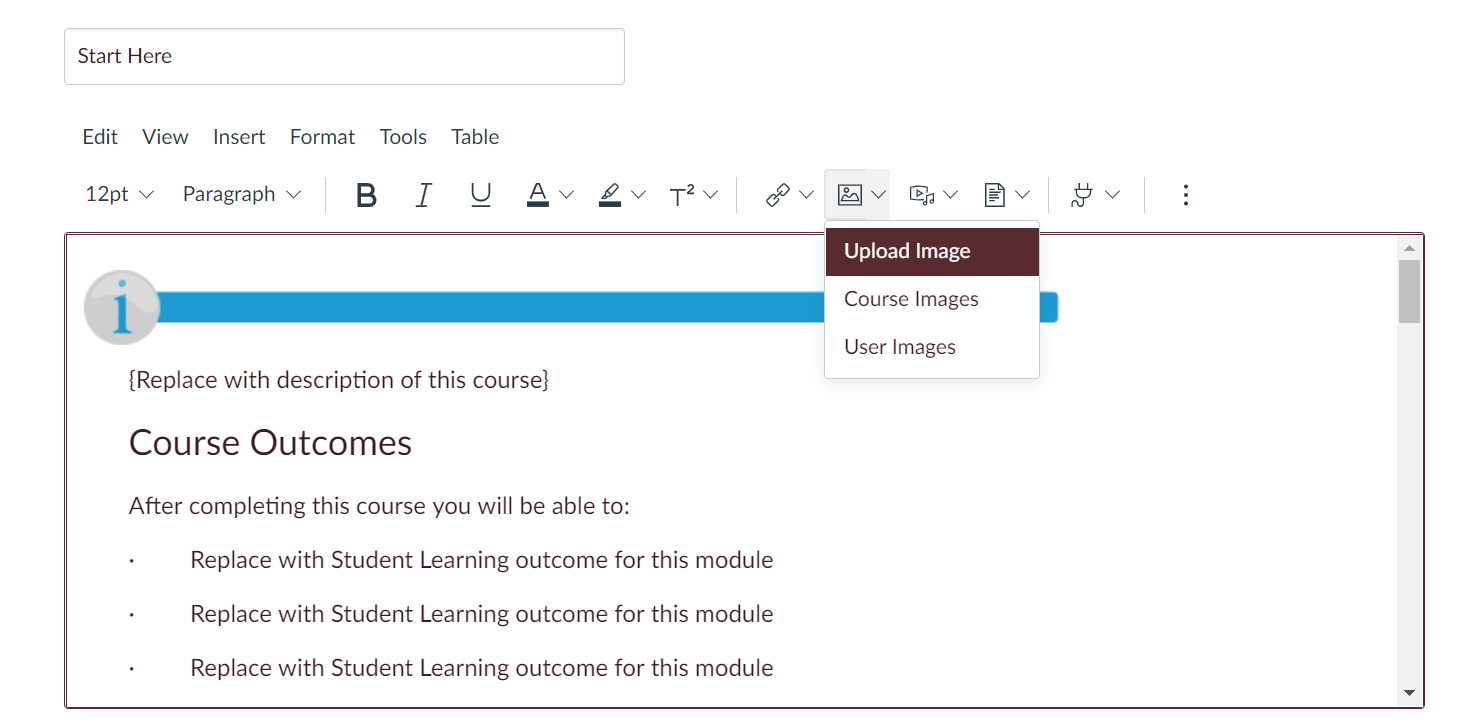
2. Open Images
Click the Image Options. To view your uploaded course image files, click the Course Images option.
To view images saved in your Canvas user files, click the User Images option. If you open the New Rich Content Editor from a group, you can view uploaded group image files by clicking the Group Images option.
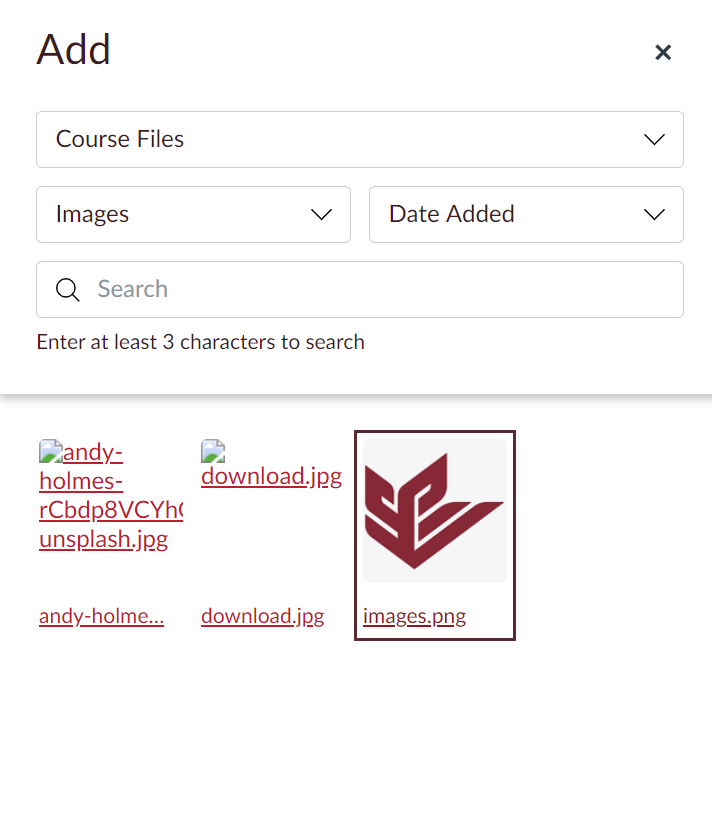
3. Select Image File
By default, when embedding an image in the New Rich Content Editor, the Add menu displays image files from your selected source. To change the image file type, click the Type drop-down menu.
To sort image files by date added or alphabetically, click the Date Added drop-down menu [3]. To search for an image, enter the image name in the Search field [4]. You must enter at least three characters for search results to display.
To embed the image, click the image file.
The image will flash before it embeds in the New Rich Content Editor.
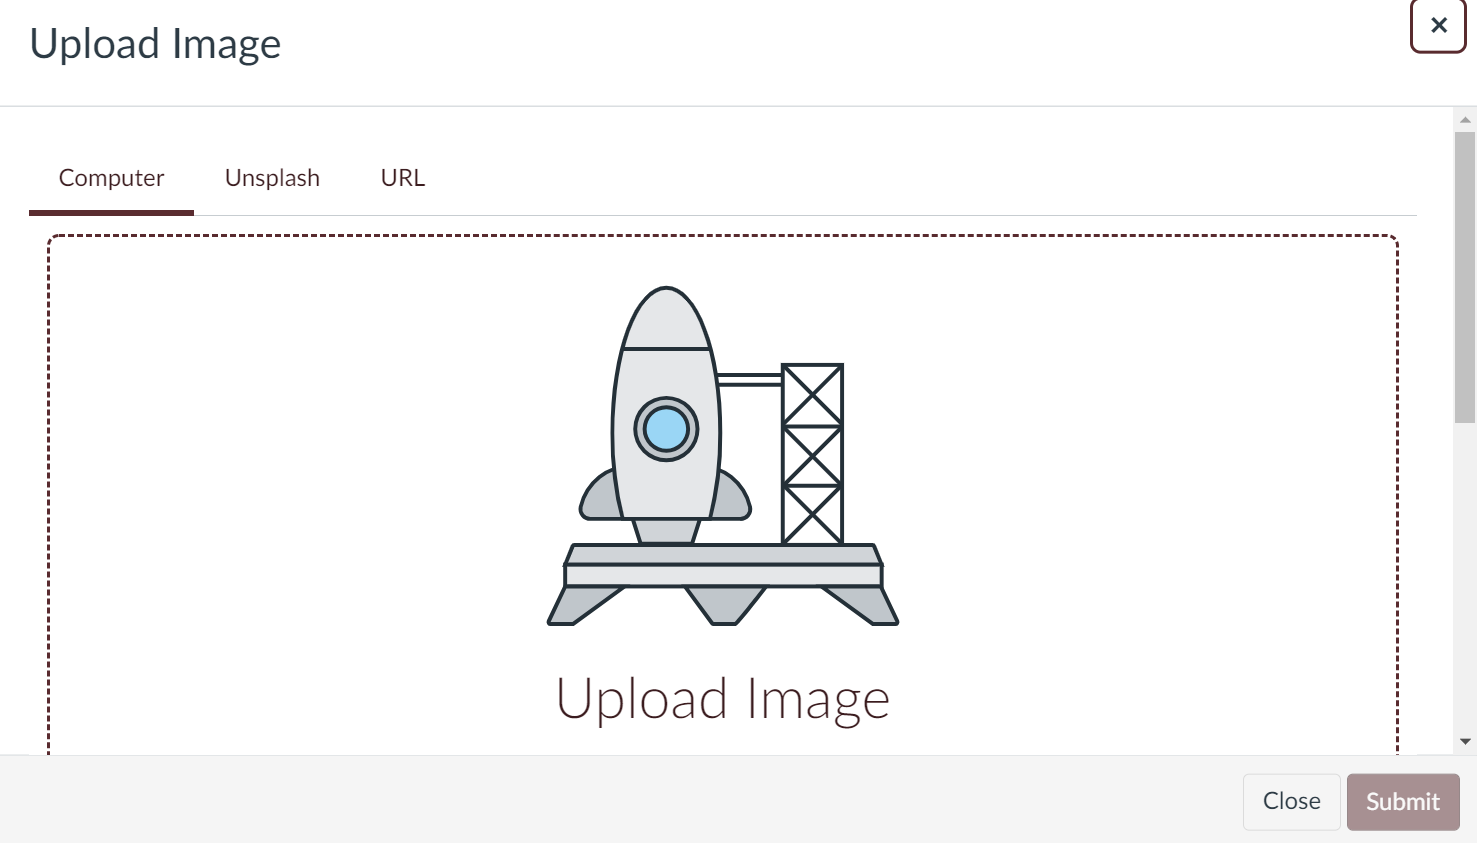
You can also upload image from your computer, Unsplash, URL.
4.View Embedded image
View the image embedded in the New Rich Content Editor. You can also edit the size of the image and add alt tags for improved accessibility.
5. Save Changes.
Additional Resources